How to Create an Outdoor Kitchen: A Step-by-Step Guide
If you love cooking, entertaining, or simply spending time outside, creating an outdoor kitchen is an amazing way to bring those joys together. Imagine grilling fresh meals, sharing laughter with family and friends, and enjoying the fresh air—all while having a fully functional kitchen right in your backyard.
Building an outdoor kitchen may seem like a big task, but with some planning and creativity, you can design one that fits your needs, style, and budget. This guide will walk you through the basics of how to create an outdoor kitchen, from planning to finishing touches.
Why Build an Outdoor Kitchen?
Before diving into the steps, it’s good to understand why an outdoor kitchen is worth considering:
- Enhances your outdoor living space: It turns your backyard into a great place for social gatherings.
- Increases home value: A well-built outdoor kitchen can add resale value to your home.
- Keeps cooking smells outside: No more indoor smoke or smells.
- Enjoy nature while cooking: Fresh air and natural surroundings make cooking more enjoyable.
Step 1: Plan Your Outdoor Kitchen
Every successful project starts with a good plan. Here’s what you should think about:
1. Decide the Location
Choose a spot in your yard that is convenient and comfortable. Think about:
- Proximity to your indoor kitchen for easy access to supplies.
- Protection from wind and direct sunlight.
- Level ground for safety and stability.
2. Determine Your Budget
Outdoor kitchens can range from simple setups with just a grill to elaborate kitchens with refrigerators, sinks, and even pizza ovens. Decide how much you want to spend early on.
3. Think About Your Needs and Wants
Make a list of must-have features. Do you want:
- A built-in grill or a freestanding one?
- Counter space for prep work?
- Storage cabinets?
- A sink for washing?
- A mini fridge or ice maker?
Step 2: Choose Your Appliances and Materials
Once you have a clear plan, it’s time to pick your appliances and materials.
Appliances
The heart of your outdoor kitchen is the grill. You can choose from:
- Gas grills (easy and popular)
- Charcoal grills (great flavor but takes more time)
- Pellet grills (good for slow cooking)
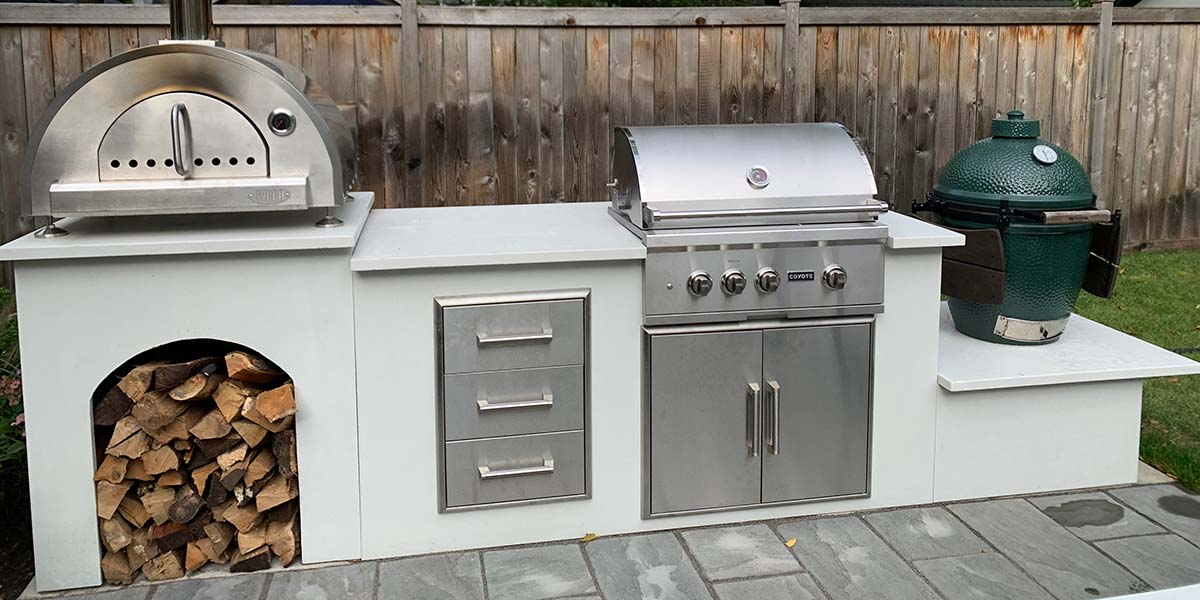
- Smokers or pizza ovens (for the adventurous cook)
Other appliances to consider:
- Outdoor refrigerator or cooler
- Sink with running water
- Side burners or griddles
- Storage drawers or cabinets
Materials
Durability is key since your kitchen will be exposed to weather.
- Countertops: Granite, concrete, or stainless steel are common because they resist weather and heat.
- Cabinetry: Use stainless steel or marine-grade polymer materials to prevent rust.
- Flooring: Choose non-slip materials like stone, concrete, or tile.
- Shelter: Consider a pergola or gazebo to protect your kitchen from sun and rain.
Step 3: Design Your Layout
Good layout means efficient cooking and easy movement.
Popular Layouts
- Straight Line: All appliances and counters in a single row. Simple and space-saving.
- L-Shape: Provides a corner workspace with room for more appliances.
- U-Shape: Offers maximum counter space and work areas, ideal for larger spaces.
- Island: A freestanding setup perfect for entertaining, with seating around it.
Key Zones
Organize your kitchen into zones for better workflow:
- Cooking zone (grill, burners)
- Prep zone (counter space)
- Cleaning zone (sink, trash)
- Storage zone (cabinets, fridge)
Step 4: Get the Utilities Ready
An outdoor kitchen needs power, water, and sometimes gas. This step often requires professionals.
- Gas: If you use a gas grill or side burner, you’ll need a safe connection.
- Water: For sinks or ice makers, connect plumbing lines.
- Electricity: For lighting, refrigerators, or outlets.
- Drainage: Make sure water drains away safely.
Always hire licensed plumbers and electricians to handle these connections.
Step 5: Build Your Outdoor Kitchen
You can build the kitchen yourself if you’re handy or hire professionals for a smoother experience.
DIY Tips
- Start with a solid base, like a concrete slab.
- Build or buy modular kitchen cabinets designed for outdoors.
- Install appliances according to manufacturer instructions.
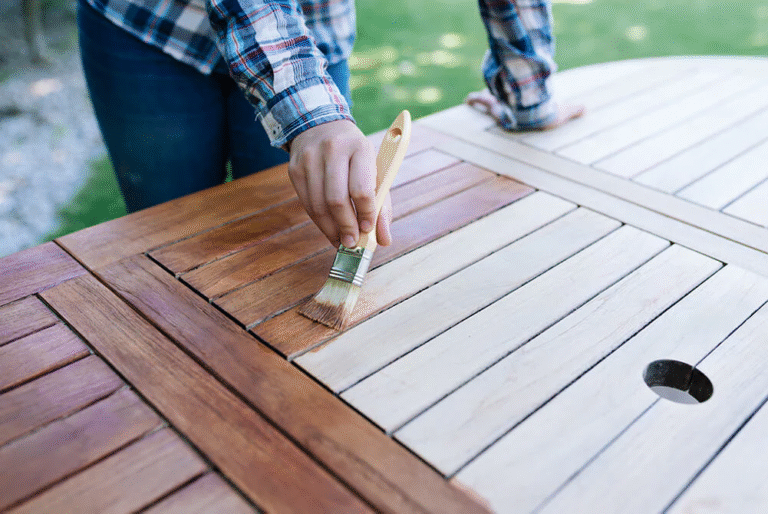
- Seal and protect all surfaces for weather resistance.
Hiring Pros
If you want a custom kitchen with complex plumbing or electrical work, professionals can save time and ensure safety.
Step 6: Add the Finishing Touches
Once the kitchen is functional, make it inviting and comfortable.
Lighting
Install soft, warm lights for evening cooking and entertaining. Consider:
- Overhead string lights
- Under-counter LED strips
- Built-in appliance lighting
Seating
Add a bar counter with stools or a nearby dining table for guests to relax.
Decor
Incorporate outdoor rugs, planters, or artwork to add personality.
Storage & Protection
Keep covers for your appliances and weatherproof storage for utensils and supplies.
Tips for Maintaining Your Outdoor Kitchen
- Regularly clean your grill and appliances to prevent buildup.
- Cover appliances when not in use.
- Check plumbing and electrical lines for leaks or damage.
- Seal stone or concrete countertops annually.
- Store utensils in weatherproof containers.
Conclusion
Creating an outdoor kitchen can transform your backyard into a favorite gathering spot, perfect for family meals and parties. With proper planning, choosing the right appliances, materials, and layout, and a little creativity, you can build a kitchen that suits your style and needs. Whether you go DIY or hire professionals, your outdoor kitchen will bring joy for years to come.
Frequently Asked Questions (FAQs)
1. How much does it cost to build an outdoor kitchen?
Costs vary widely depending on size and features. A simple setup can cost around $2,000–$5,000, while larger, custom kitchens with multiple appliances can cost $10,000 or more.
2. Can I build an outdoor kitchen myself?
Yes, if you have some DIY skills and time. Simple outdoor kitchens with basic appliances are manageable, but complex plumbing or electrical work is best done by professionals.
3. What is the best material for outdoor kitchen countertops?
Granite, concrete, and stainless steel are popular for their durability and weather resistance.
4. Do I need a permit to build an outdoor kitchen?
Permit requirements vary by location. Check with your local building department to see if you need one, especially if you’re adding plumbing, gas, or electrical lines.5. How do I protect my outdoor kitchen from weather damage?
Use weather-resistant materials, cover appliances when not in use, and perform regular maintenance like sealing countertops and cleaning appliances.